Just part of my new stash of fabric...When I spotted a stack of Vogue Designer sewing patterns (circa 1980), I suspected this St Vinnies might have some nice fabric in stock.
True to form, I found crisp linen (pristine white and prints), crepes, real wool and shiny silks tucked in amongst their stash.
And the price? A princely $16.50 for some twelve metres of material.
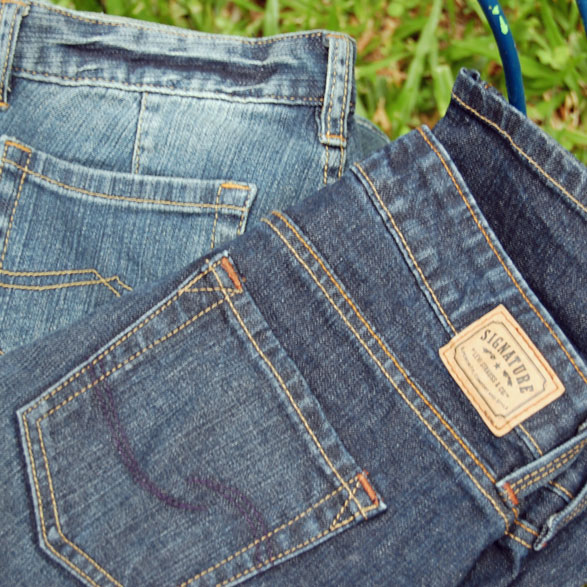 Spot the op-shop jeans...Seriously, who can tell the difference between my brand new $65 no-name jeans and the $4 Levis I found op-shopping in country Kenilworth?
It was so hot camping that I bought the jeans on the right to cut up into shorts, but in the end figured they were too nice and deserved better treatment!
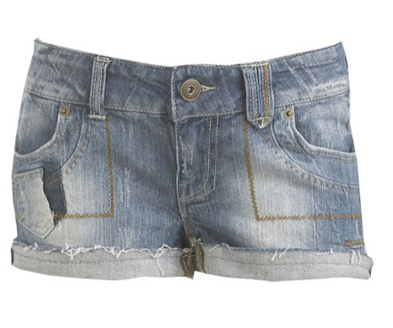 Easiest ever way to convert your jeans to shorts
For those with the same urge to cut up your jeans, I spotted the easiest way to do it on some shopbop.com shorts.
Just turn up the edge once to the outside and stitch. No messing around trying to put cuffs on your shorts - it stops the fraying just a bit and you get a great look for minimum effort!
Bit the bullet and took the pledge!
At Wardrobe Refashion, you can sign a pledge for a minimum 2 months, to not buy new clothes, but craft and create your own instead. Participants can log their progress on the WR blog.
Here's my first entry:-
Once upon a time, I was an idealistic teenager who came to Brisvegas to do Environmental Studies at Griffith Uni. Over the years, I've kind of fallen off the green bandwagon, but lately have decided to hop back on.
Why? In the eighties when I was studying, lecturers insisted " the sky is falling, the sky is falling!" and a couple of decades later I realise their dire warnings were true...ish... Though the sky hasn't fallen, it has big holes in it, and in certain parts of the world (China for instance) it is in fact constantly brown, not blue.
Re-fashioning clothes is just one little thing I can do that's green, clean and a lot of fun!
So here's some I prepared earlier...
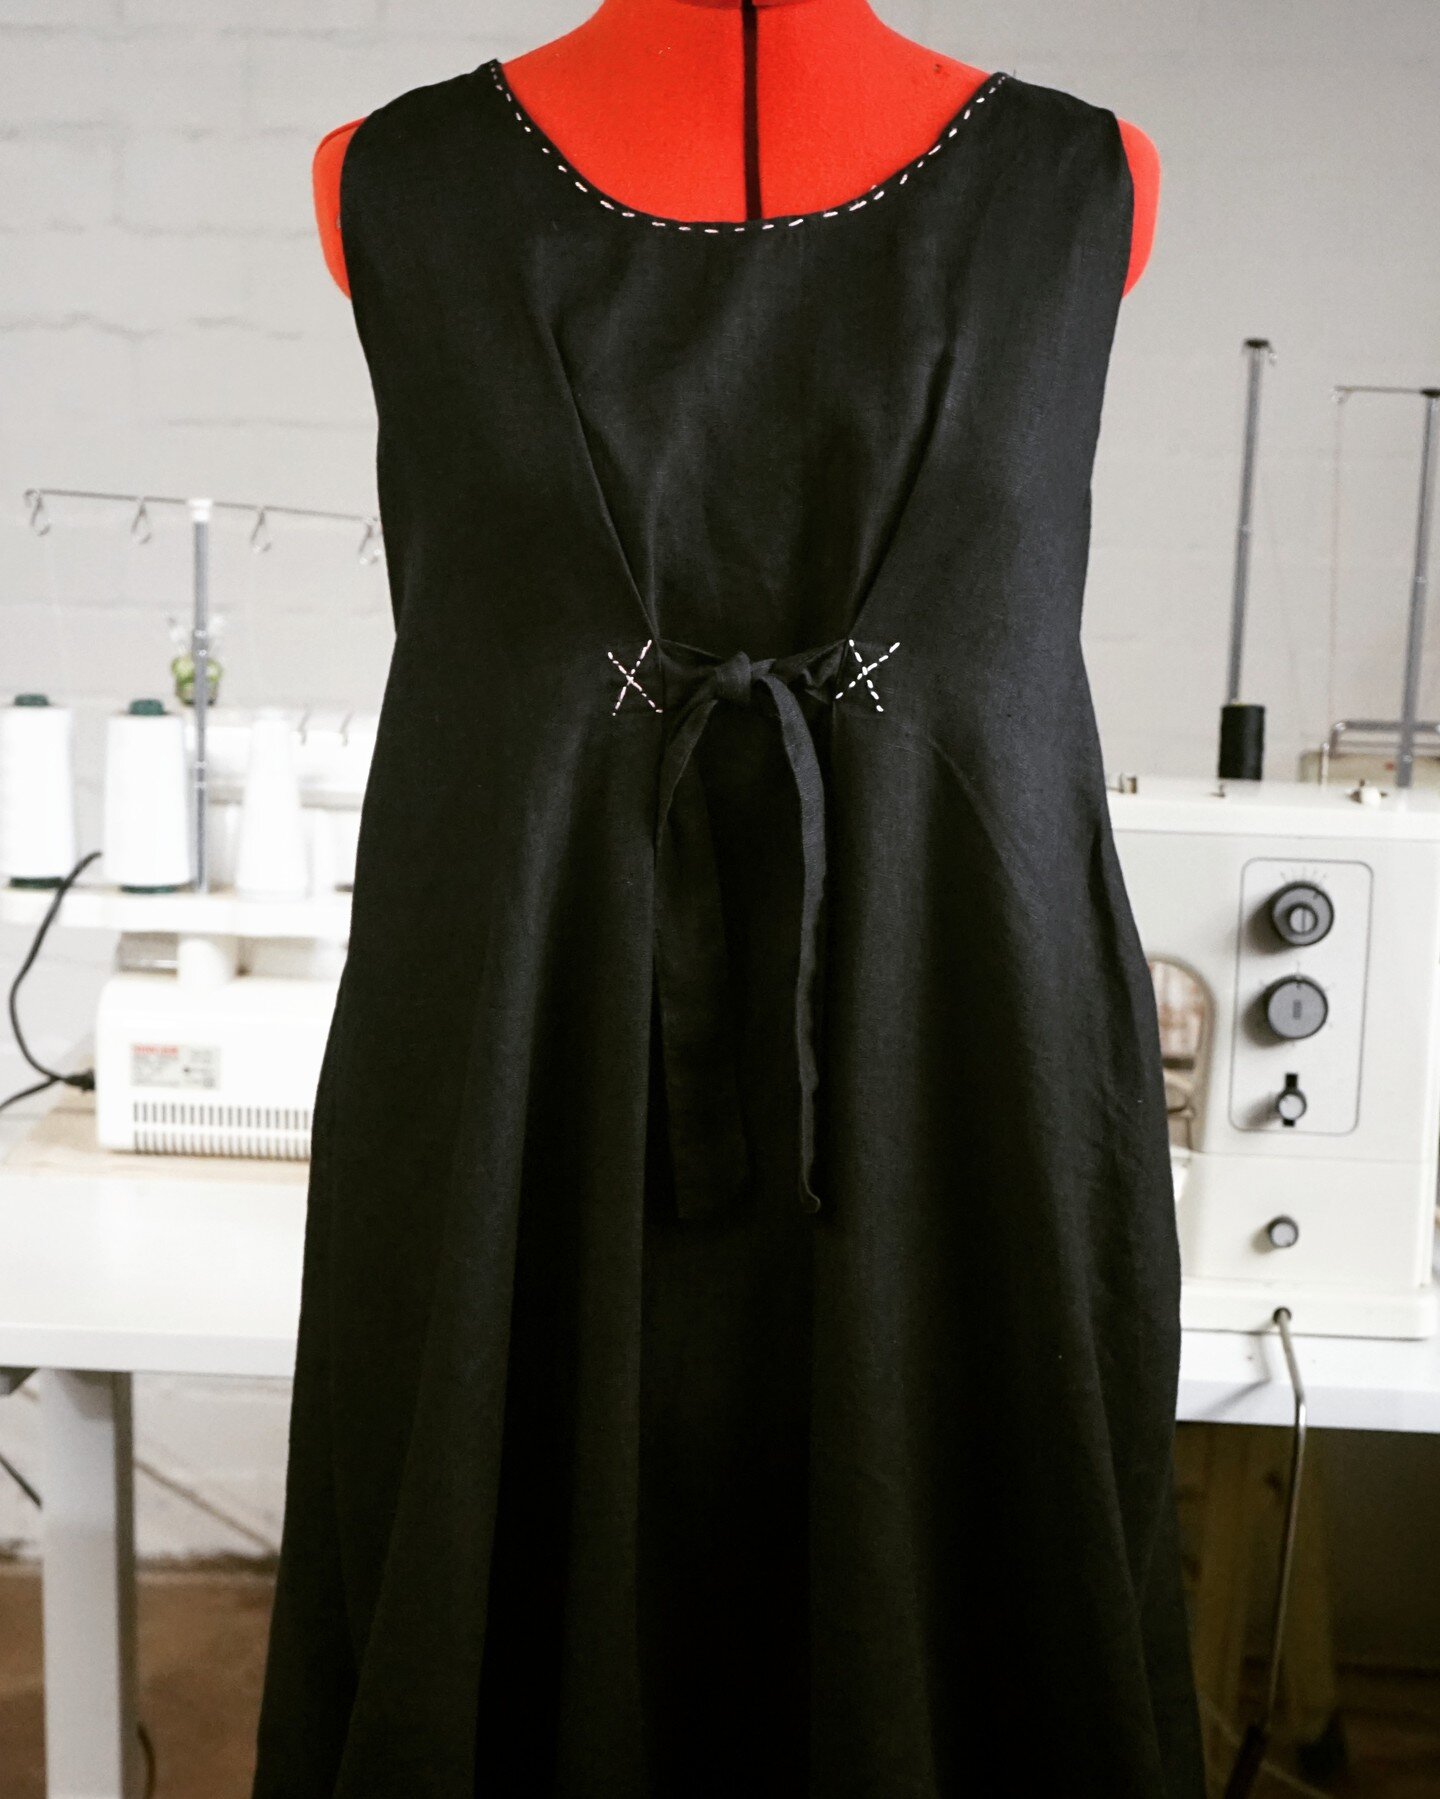
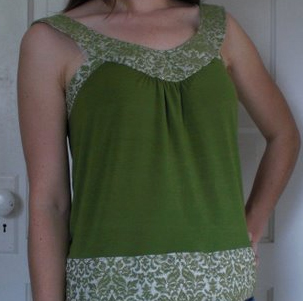
Giant size man's shirt becomes little shift dress...


And here's a skirt refashioned from a pair of pillowslips...

I've signed on initially for 2 months and I'm hoping we can encourage each other to get busy re-fashioning.
I'll try and post some instructions for anyone new to sewing on my website, which is geared at beginners learning to sew.
Thanks for reading!
Carmen @ Clothesline
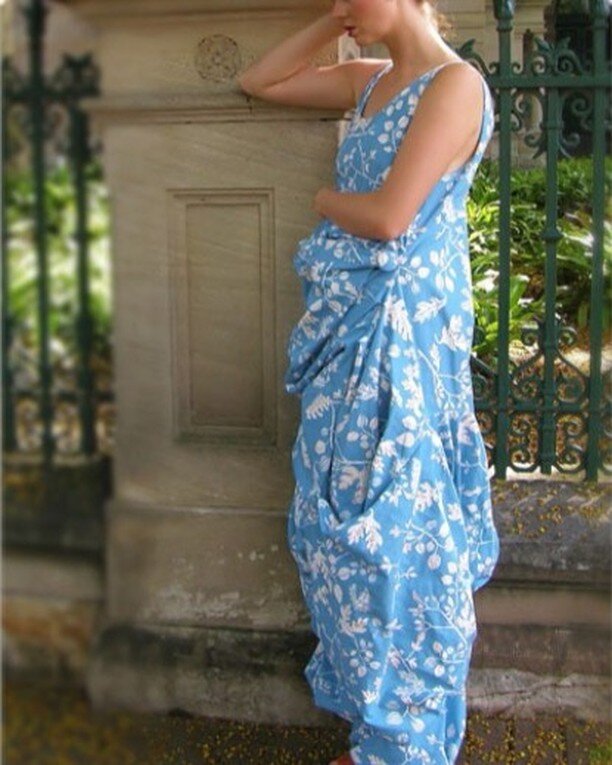
 From French Sleep Deprivation Study blog...At the WR blog, have already spotted this fab refashioning site...
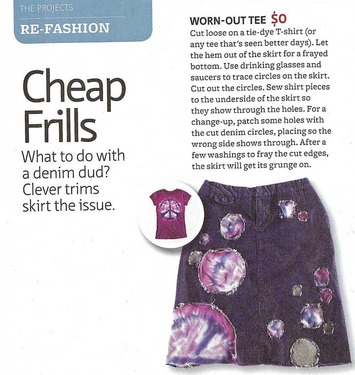 from ReadyMade April/May 2009Wandering past City Beach, saw some patched denim jeans and said to myself "That'd be so easy to do!" Here's how to attack them, courtesy of a great re-fashioning article in ReadyMade magazine.
Try it out first on some old jeans- I found a great $8 pair of Levis at an op-shop.
Went out op-shopping recently with a big group, looking for 80's clothes for a fancy dress party. Found that some people hate op-shops, there were cries of "let's get out of here, it smells!".
Personally, I love op-shopping (sorry, Mum). One day I bought a Miss Sixty vest, Country Road shirt, vintage gloves, couple of hand-embroidered cushion covers,and still had enough change from $20 to buy lunch!
For op-shopping novices, here are some tips on thrifting from cult 13-year-old blogger, the Stylish Wanderer.
 Still working on skirts made from a pair of pillowslips (see previous entry) ...
When I told Remo about my sewing business, he insisted I wear something I'd made to our next church meeting. Luckily, this pillowslip skirt can be made in an afternoon. (Excuse strange pose - I photographed myself in the bathroom mirror!)
Other experiments include this comfy version made from a pair of really soft, Country Road pillowcases. Thank you Vicki O. for your feedback - and yes, writing detailed instructions is high on my to-do list!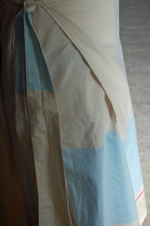
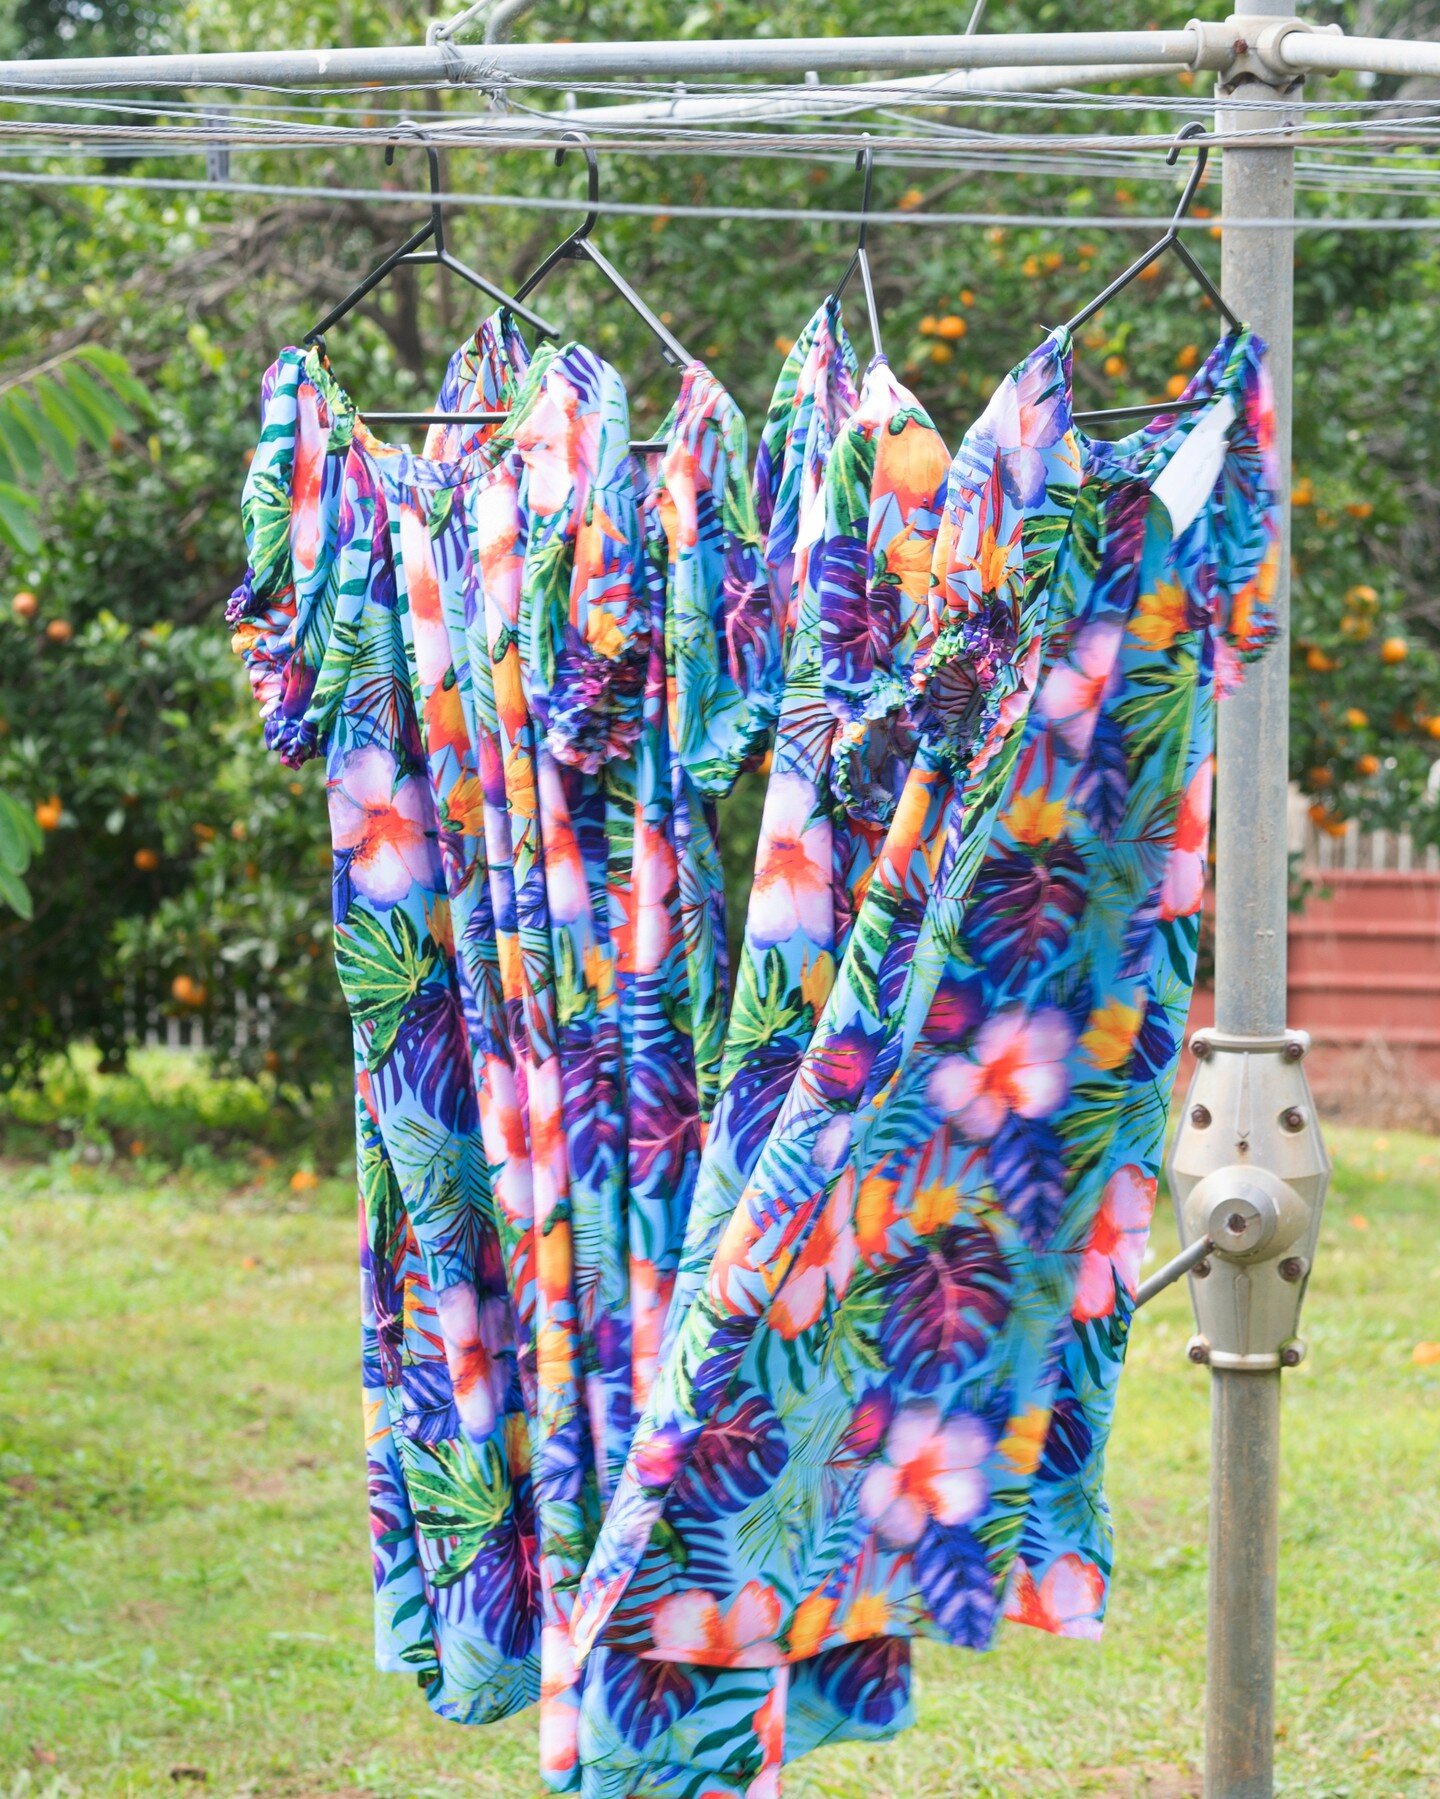
Thought y'all might be interested in how ideas for new patterns come about. This one started with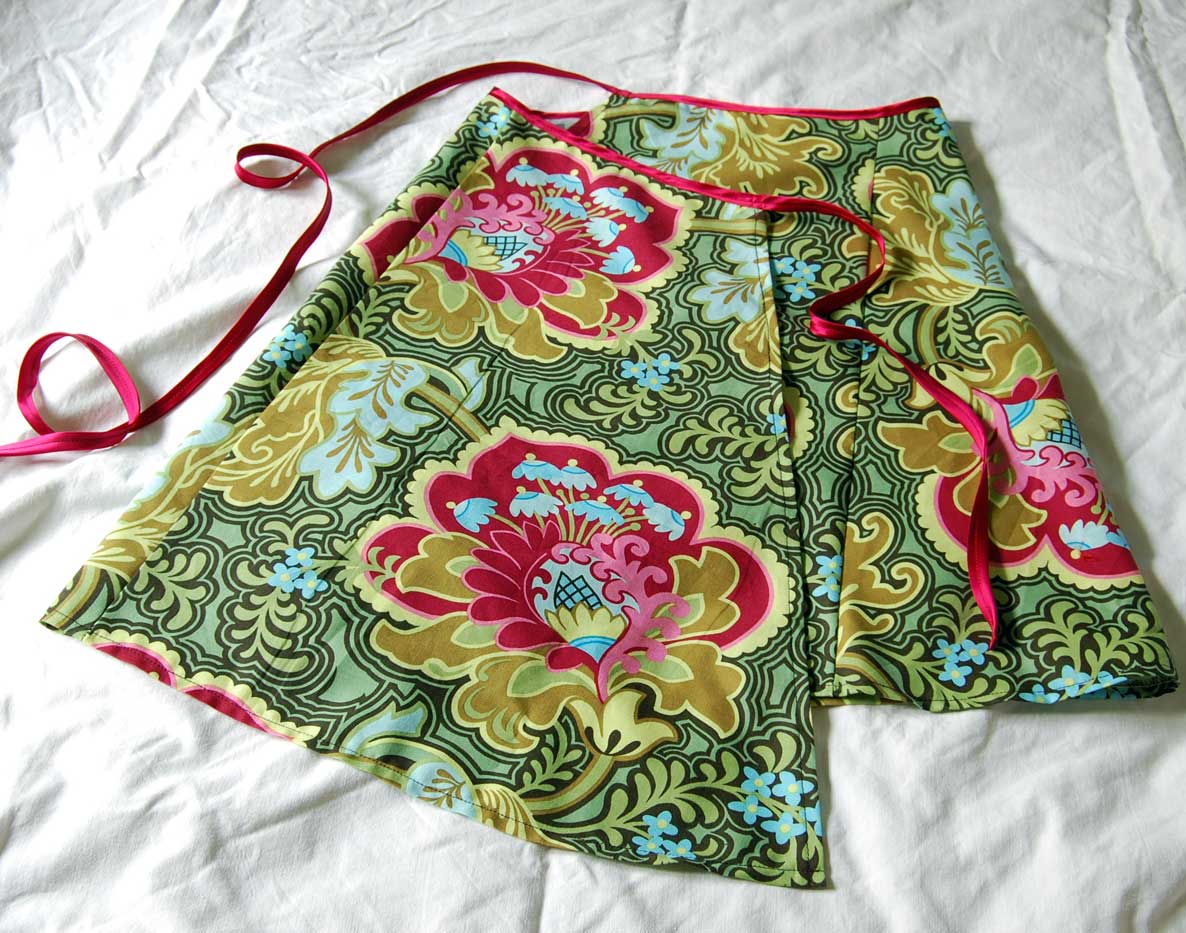 a note from a teacher, looking for an easy wrap skirt project for her year 9 students. Came up with this little mini skirt, which I quite liked. There was just one problem - as with most wrap skirts, a strong breeze and it all unwraps rather quickly!

Hoping to avoid wardrobe malfunctions, I looked into another wrap skirt style that is a large tube shape (so it can't fly open, exposing your undies!). Round about the same time, I spied these little dresses in British magazine Sew Hip, made from a recycled pillowslip.
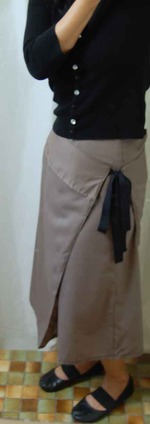
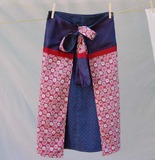
Figuring one pillowcase would not accomodate my hips, I started work on a wrap skirt made from a pair of pillowcases. Here's some of the work in progress...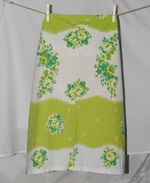 Front of Pillowslip skirt
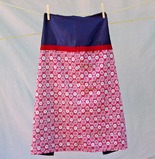
 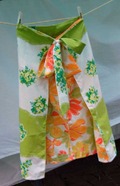 Back of pillowslip skirt Basically, two pillowslips join to make a large tube shape, which you clip into place with press studs, wrap and tie around your waist.
The ties are made from fabric trimmed from the pillowcases. It's simple and fast, as it uses some of the seams and hems already on the pillowslips.
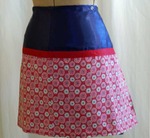
Here's another version that uses a pair of pillowslips that had a blue contrast panel. Cut it shorter for a mini version.
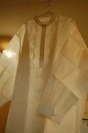 Out op-shopping, I found this huuuge men's shirt that looked like it'd never been worn. It's big - I'm talking Biggest- Loser-before-shot-size big.
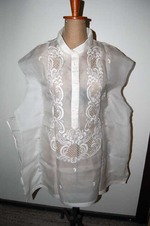 A little elective surgery - I cut off the sleeves and took the sides in. Knowing how to take in the side seams on a garment is a useful thing. Try it out on your Clothesline pattern garments, if you prefer a closer fit.
Here's how...
- Try garment on inside out.
- Pin excess fabric - a bit like in picture at right, but don't pin in so close. (Clothesline patterns don't have buttons like this shirt to help you get in and out of them.)
- With pins still in place, carefully take off garment to be certain you can get in and out of it OK.( ie don't make the waist so skinny that you can't get it over your ample bosoms!)
- With an ERASABLE marker, draw lines where pins are.
- Remove pins and stitch along drawn line.
- Trim seams to 1.5cm wide.
- Zig-zag finish seams.
- Think to self - "Boy, that was easy, I'm not scared of altering clothes any more."
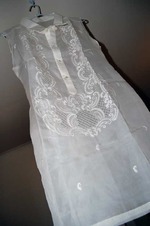
For this shirt dress, I put a rolled edge hem on the armholes and also sewed in a couple of darts along the bust line for a better fit.
So... that's how dejected Biggest Loser shirts get born again. Give recycling a go - it's eco-friendly and a fun and creative skill for the new recession.